During March 2007, we purchased the three Bachmann Forney locos we had ordered from Austral Modelcraft. We had previously been advised that they would be available during that week and we couldn’t wait to get them. Listening to the locos being test run at the shop and our commitment to DCC the previous month convinced us that now was the time for us to start building a layout. Our collection of On30 had grown considerably since Bachmann introduced their ¼ inch scale (American O Scale) Porter 0-4-0ST locos in the late 1990’s. We have both been attending the AMRA Narrow Gauge meetings at Zillmere for some time and Raymond had been building 2’0” gauge models in 7 mm scale (English O Scale) for some time while I had been having a go at a Fowler 0-4-2T in 7 mm scale (still unfinished).
Sunday 4 March 2007, was a momentous day as Raymond and I started cleaning up an accumulation of 30 years of junk in the garage and tried to envisage if the layout project would eventuate or not. We also worked out the general locations of the lift-up or removable sections of the layout to allow access for my car into the garage.
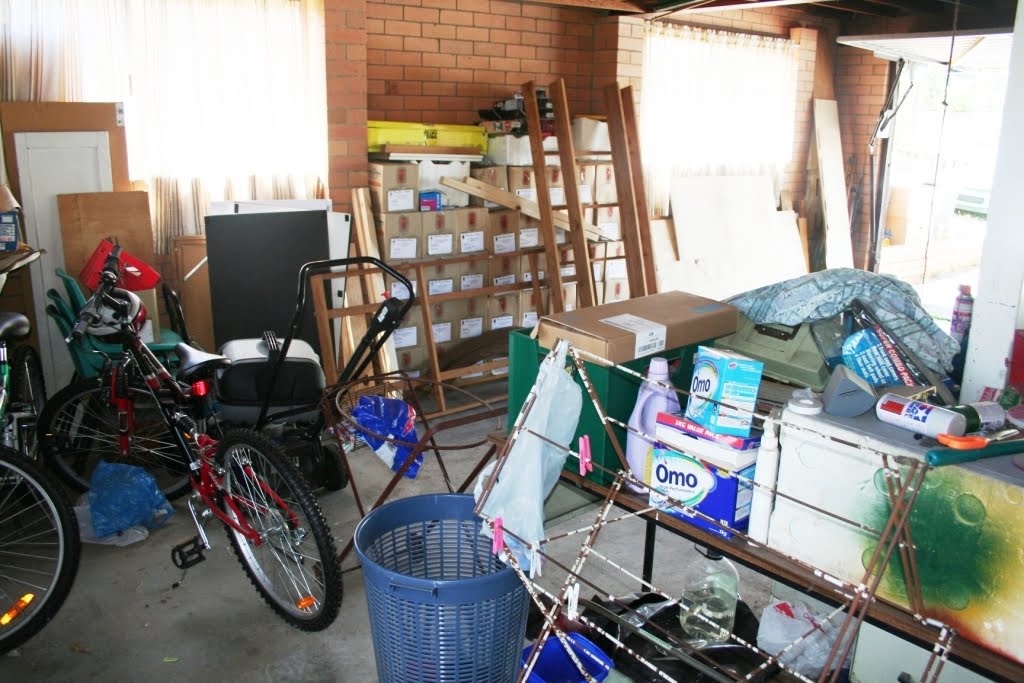 My side of the garage before we began
We dug out two sections of baseboard framework from the garden shed in the back yard. I had made these 30 years ago for a proposed HO Scale NSW layout that was never completed beyond the baseboard stage. Needless to say these were in imperial dimensions rather than metric at 6 feet long by 2 ft 6 ins wide. During this time we also purchased some plywood sheet pre-cut to the required sizes as well as additional timber for framing and legs.
The following Sunday, we started rebuilding the first baseboard framework panel. Typical problems with yours truly trying to do anything with his hands – my hand saw kept snagging on the timber (I think it needs sharpening) and we needed a sander. Rang Craig – he didn’t have one we could borrow – so I went to Bunnings, Browns Plains and bought one for $100 thanks to the gorgeous young Bunnings Team Member who was so helpful and patient with me. I told her that Tim “The Tool Man” Taylor (TV Comedy Series – “Tool Time”) was an expert home handyman compared to me. She took pity on me and after a number of searching questions she found the right tool for me!! I now have a Ryobi Belt Sander.
I tried using my power saw (last used about 15 years previously) – blew the house earth leakage circuit breaker. It had been stored in a dark cupboard in the shed and the cockroaches had made short work of the insulation on motor windings causing a short. We discarded the power saw into the appropriate receptacle (after chopping off the power lead) – then back to the hand saw.
We found the old framework wasn’t square in relation to the plywood sheet. Unscrewed the 50 mm X 25 mm cross pieces from the two centre L-girders and found we could square it to the ply this way. We decided to reaffix the 50 mm X 25 mm cross pieces after we had screwed the ply sheet (which was square) to the frame. Well – at last we had the baseboard framework almost complete for our first 1800 mm X 900 mm panel – after a day’s work and much thought – actually it was more thought than work.
 The first panel completed
No comments:
Post a Comment